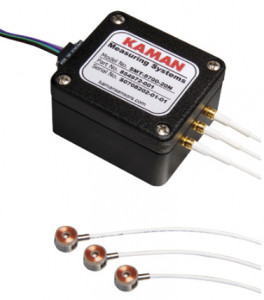
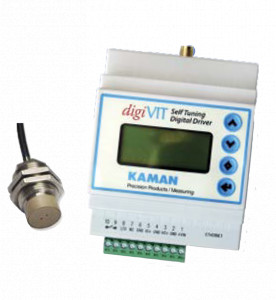
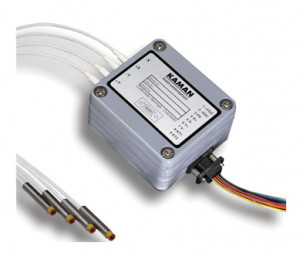
Inductive displacement sensor - 0.5 to 25 mm - analogue output - web interface
- Non-contact inductive displacement sensor
- Automatic detection of the configuration (probe, cable)
- Measuring range: 0.5 mm to 25 mm
- Resolution: 0.1 to 3µm depending on the measuring range
- Bandwidth: 0 to 10 kHz
- IP67 sensor, insensitive to oil, dust, humidity, magnetic fields
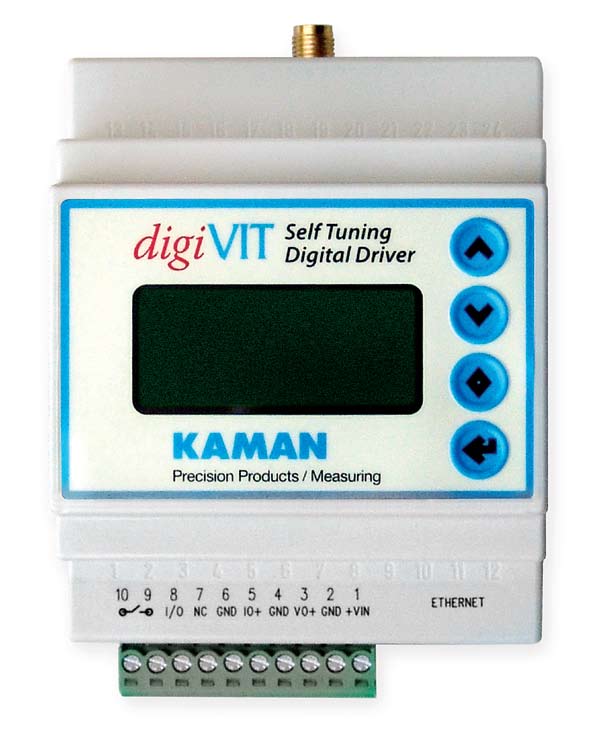
- Display + full configuration from front panel
- Voltage output: 0-10 VDC, +/- 5 VDC, 4-20mA
- Access to the module via Ethernet (Webserver)
- Power supply: 15-30 VDC
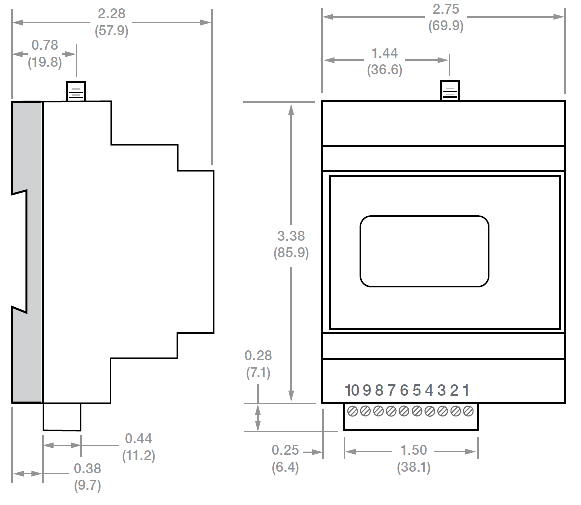
- Electronics: IP40, DIN rail mounting
- Operating temperature((sensor + cable): Standard: -67 to 221°F, cryogenic version: -320.8°F to 401°.
Inductive non-contact displacement sensor
Functional principle
The inductive eddy current sensor DigiVIT measures displacements, positions or distances, without contact, between the sensor head and a magnetic or non-magnetic metal part, over measurement ranges from 0.5 to 25 mm. The measurement is characterised by an excellent resolution (down to 0.1µm), a high frequency response (1 kHz) and is insensitive to the environment (wet, electro-magnetic, cryogenic, cutting oil, etc.). The analogue output signal (DC voltage or 4-20mA) is compatible with any analogue input from a PC, PLC or data acquisition system.
Calibration / adjustment
The DIGIVIT electronics automatically recognises the sensor + cable + target configuration. Calibration in 2 or 6 points and temperature compensation are done by push button without potentiometer or PC. Finally, an Ethernet port allows access to the DigiVit from a PC for simultaneous parameterisation and visualisation on several modules (Webserver).
The DigiVIT is also available as an OEM version (bare housing) for integration.
More information on the principle of Eddy Current measurement: here
Configuration
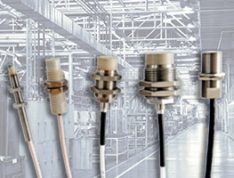
Sensors
- Cable length 2m unshielded
- Operating temperature: S - Standard: [-67/+221°F], C - Cryogenic: [-320.8/+399.2°F]
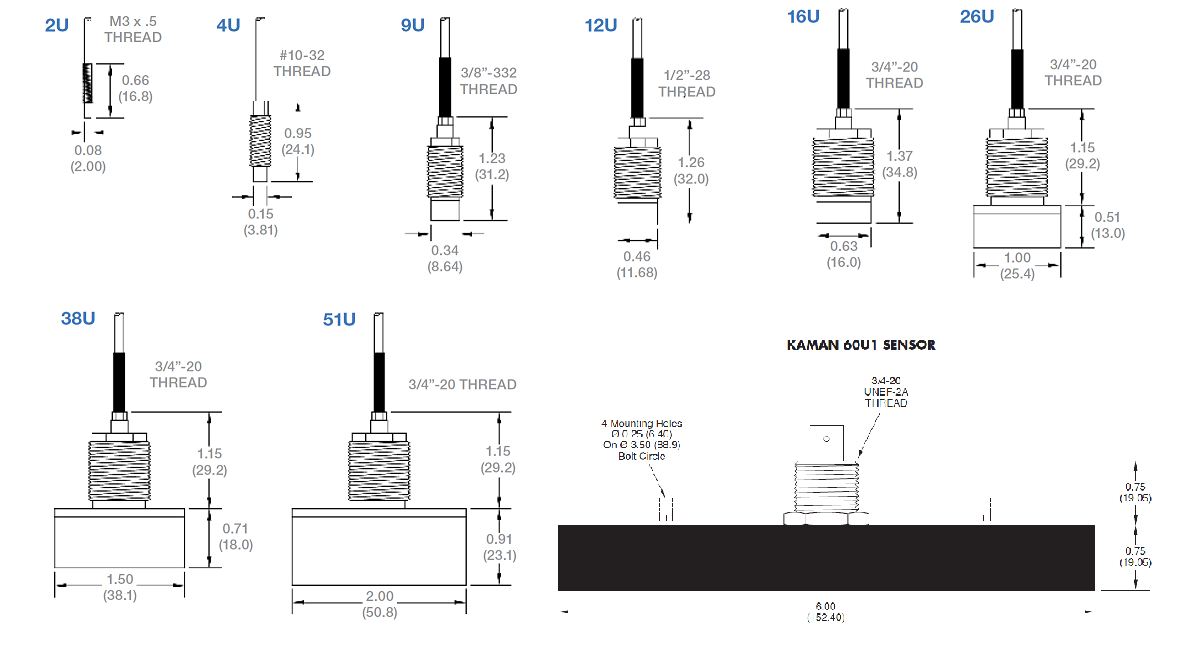
| Sensor | 2U | 4U | 9U | 12U | 16U | 26U | 38U | 51U |
|---|---|---|---|---|---|---|---|---|
| Range [mm] | 0,5 | 1,3 | 4 | 5 | 8 | 12 | 20 | 25 |
| Target (magnetic/non-magnetic)) | x/- | x/- | -/x | x/x | x/x | x/x | x/x | x/x |
| Static resolution [µm] | 0,05 | 0,13 | 0,4 | 0,5 | 0,8 | 1,2 | 2 | 2,5 |
| Operating temperature | S | S | C | C | C | C | C | C |
Dimensions

Applications
- Turbine or compressor speed measurement
- Detection of shaft deformation (runout)
- Shaft misalignment detection
- Displacement or position measurement
- Vibration measurement
- Quality control
- Machining inspection
- Thickness measurement
- Orbit measurement
- Technologie
- Eddy Current
- Etendue de mesure linéaire
- 0.5 / 25 mm
- Measuring range
- 0 à ±50 mm
- Nonlinearity (% FS)
- ± 0.1 , 0.3 %
- Bandwidth (+/-5%)
- 5000 , 10000 Hz
- Signal otuput
- 0-10VDC, ± 5 VDC, 4-20 mA
- Analog output signal
- 0-10 VDC
- Protection Class
- IP40
- Tension d'alimentation
- 24 Vcc
- Housing
- Plastic
Electronic
Sensors

- Special calibration with non-standard measuring range,
- Temperature compensation of the sensors.
- Special cable; connector on the cable, waterproof feedthrough.
- Treatment of the sensors against moisture.
- Adaptation to special target geometry
- Sensor cable length
- Data acquisition
- Calibration micrometer
- Teflon thickness gauge
- 12 or 24Vdc power supply
- Product training and calibration techniques
Produits associés
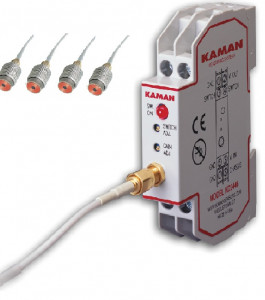
KD-2446
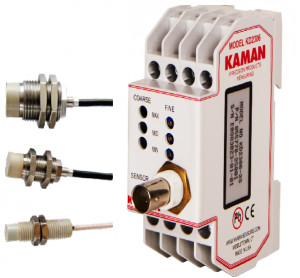
KD-2306 | OEM-2306
DIT-5200L
