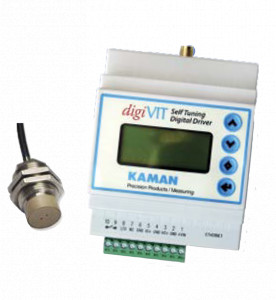
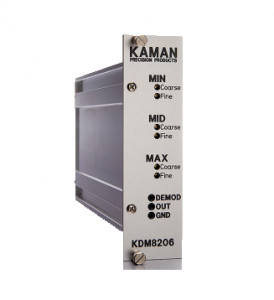
Non-contact eddy current displacement sensor - 0.5 to 60 mm - Multi-channel
- Modular non-contact eddy current measurement system
- Includes: Sensor + cable + packaging card
- Measuring range: 0.5 mm to 60 mm
- Bandwidth: 0 to 50 kHz (100-120 kHz optional)
- Resolution: 0.1 to 6µm depending on the measuring range
- Non-linearity: 1% of measuring range
- Voltage output: 0-10 VDC, 4-20mA
- Power supply: 15-30 VDC
- IP67 sensor, insensitive to oil, dust, humidity, magnetic fields
- Multi-channel electronics for 19" rack or table-top enclosure
- Operating temperature (sensor + cable): Standard: -67 to 221°F, cryogenic version: -320.8°C to 401°C
- RoHS and CE
Modular non-contact displacement measuring system KD8206
Principle of operation
The KD-8206 eddy current sensor measures displacements, positions or distances, without contact, between the sensor head and a magnetic or non-magnetic metal part, over measurement ranges from 0.5 to 60 mm. With the same technical specifications as the KD2306 (resolution down to 0.1µm), frequency response of 50 kHz, use in wet, electro-magnetic, cryogenic and cutting oil environments, the KD8206 is recommended for instruments using 4 or more sensors simultaneously. The acquisition cards are installed in a specific rack or cabinet and the different measurement points are synchronised. The analogue output signal (DC voltage or 4-20mA) is compatible with any analogue input from a PC, PLC or data acquisition system.
Calibration / adjustment
The calibration of the KD-8206 is performed at the factory, with the probe and the metal target of the application, under the measurement conditions (temperature, supply voltage, etc.). As an option, calibration points can be specified to optimise accuracy. When installing the system or using a new metal target, the gain and offset of the amplifier can be adjusted by screw potentiometers to optimise the linearity of the response. Shims and micrometers for this purpose are optional.
More information on the principle of eddy current measurement: here
Configuration
The KD-8206 system consists of a probe with integrated cable (29 models available) and conditioning electronics that can be installed in a rack or table top case.
Version standard : [-67/221°]
| Sensor | 2UM | 2U | 1S | 1SM | 1U1 | 1SU | 5U | 2S1 | 2UB1 | 2S | 3U1 |
|---|---|---|---|---|---|---|---|---|---|---|---|
| Range [mm] | 0.5 | 0.5 | 1.0 | 1.0 | 1.0 | 1.3 | 1.3 | 2.0 | 2.0 | 2.5 | 3.0 |
| Magnetic/non-magnetic target | -/x | x/- | x/- | -/x | x/- | x/- | x/- | x/x | x/x | x/x | x/- |
| Static resolution [µm] | 0.1 | 0.1 | 0.1 | 0.1 | 0.1 | 0.2 | 0.2 | 0.3 | |||
| Shielded (O/N) | - | - | x | x | - | - | - | - | x | - | - |
| Cable length [m] | 2 | 2 | 3 | 3 | 3 | 3 | 2 | 3 | 3 | 3 | 3 |
| Sensor | 4S1 | 4SB | 6U1 | 6C | 8C | 15U1 | 10CU | 30U1 | 12CU | 60U1 |
|---|---|---|---|---|---|---|---|---|---|---|
| Range [mm] | 4.0 | 4.0 | 6.0 | 6.4 | 12.7 | 15.0 | 24.4 | 30.0 | 50.8 | 60.0 |
| Magnetic/non-magnetic target | O/O | O/O | x/x | O/O | x/x | O/O | O/O | O/O | O/O | O/O |
| Static resolution [µm] | 0.4 | 0.4 | 0.6 | 0.6 | 1.3 | 1.5 | 2.5 | 3.0 | 5.0 | 6.0 |
| Shielded (O/N) | x | x | - | x | x | - | - | - | - | - |
| Cable length [m] | 3 | 3 | 3 | 4,5 | 4,5 | 3 | 4,5 | 3 | 4,5 | 2 |
Cryogenic versions: [-320.8/399.2°]
| Sensor | 1UEP | 1SUM | 9U | 12U | 16U | 26U | 38U | 51U |
|---|---|---|---|---|---|---|---|---|
| Range [mm] | 1.0 | 1.3 | 4.0 | 5.0 | 8.0 | 12.0 | 20.0 | 25.0 |
| Magnetic/non-magnetic target | -/x | -/x | x/- | x/x | x/x | x/x | x/x | x/x |
| Static resolution [µm] | 0.1 | 0.1 | ||||||
| Shielded (O/N) | - | - | - | - | - | - | - | - |
| Cable length [m] | 3 | 3 | 2 | 2 | 2 | 2 | 2 | 2 |
- Non-magn: non-magnetic target type aluminium, stainless steel
- Magn: magnetic target type steel 4130
Dimensions
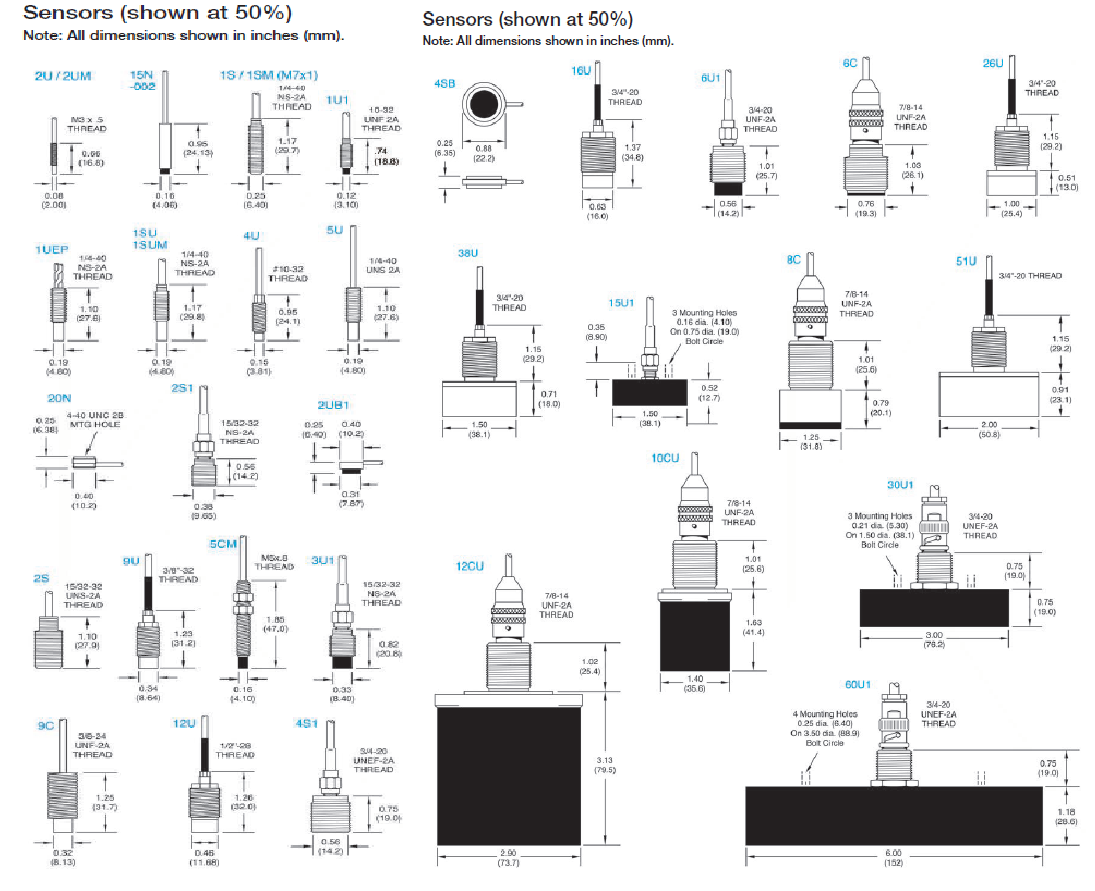
Other probes are available on request. Please contact us.
KD-8206 applications
- Turbine or compressor speed measurement
- Detection of shaft deformation (runout)
- Shaft misalignment detection
- Displacement or position measurement
- Vibration measurement
- Quality control
- Machining inspection
- Thickness measurement
- Orbit measurement
- Technologie
- Eddy Current
- Etendue de mesure linéaire
- 0.5 / 50 mm
- Measuring range
- 0 à ±50 mm, ±51 à ±250 mm
- Bandwidth (+/-5%)
- 50000 Hz
- Analog output signal
- 0-10 VDC, ± 5 VDC, 4-20 mA
- Protection Class
- IP40
- Tension d'alimentation
- 10 Vcc
Sensors

- Special calibration with non-standard measuring range,
- Temperature compensation of the sensors.
- Special cable; connector on the cable, waterproof feedthrough.
- Sensor treatment against humidity.
- Adaptation to special target geometry
- Sensor cable length
- Calibration micrometer
- Teflon thickness gauge
- 12 or 24Vdc power supply
- Product training and calibration techniques
Produits associés
SMT - ±5N à ±2kN - Surcharge 10x
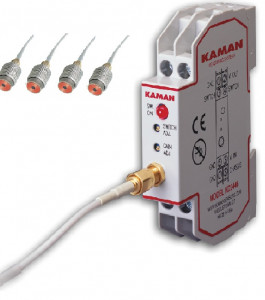
KD-2446
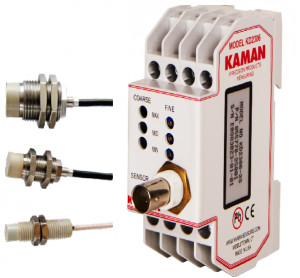
KD-2306 | OEM-2306
