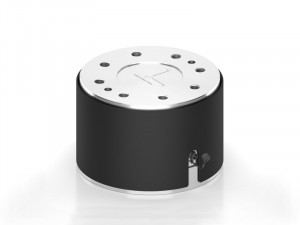
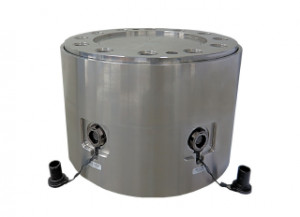
Force transducer 6 components 50 kN / 10 kNm to 200 kN / 20 kNm - redundant measurement
- 6-component force/torque transducer of F6D/K6D series
- Measuring ranges: 50kN/10kNm 100 kN/15kNm 200kN/20kNm
- Calibration: tension/compression
- Accuracy class: 0.5%;
- Output signal: 0.1 mV/V
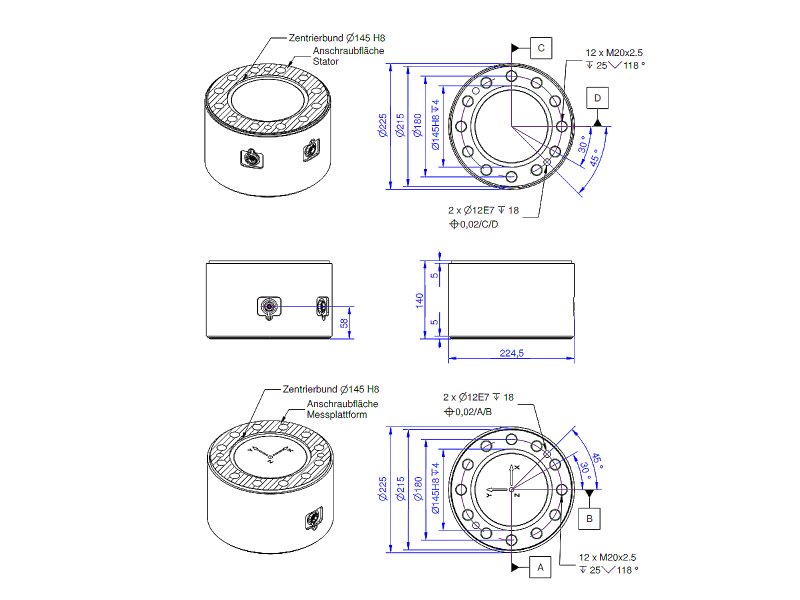
- Dimensions: Ø225 mm x 140 mm;
- Mounting and Centering: 12 x M20x1.2 threads + 2 x Ø12 mm E7 holes
- Connection: 2 UP13 connectors
- IP65 stainless steel construction
- Weight: kg
- Calibration certificate and 6x6 inter-port matrix included
High capacity 6-component sensor with redundant measurement
The 6-component K6D225 strain gauge force transducer simultaneously measures the forces Fx, Fy, Fz and torques Mx, My, Mz on three perpendicular axes. The forces are measured directly at the contact surface, allowing maximum rigidity and reduced space requirements.
The measurement on each axis is carried out by means of a redundant strain gage bridge, allowing:
- either to improve the accuracy by combining the two measurements, and using the 6x12 inter-channel matrix provided for this purpose. The overall accuracy is increased from 0.5% to 0.2%.
- or to have a redundant measurement chain for critical systems (double measurement, double conditioner, etc...)
The K6D225 sensor is available in 3 measuring ranges :
| Model | K6D225 (50kN/10kNm) | K6D225 (100kN/15kNm) | K6D225 (200kN/20kNm) |
|---|---|---|---|
| Fx, Fy [kN] | 50 | 100 | 200 |
| Fz [kN] | 100 | 250 | 500 |
| Mx, My, Mz [Nm] | 10000 | 15000 | 20000 |
| Connectivity | Connector : 2 x UP13 | Connector : 2 x UP13 | Connector : 2 x UP13 |
| Material | Stainless steel | Stainless steel | Stainless steel |
Each sensor is delivered with a factory calibration certificate and a 6x12 channel coupling matrix. Calibration to specific ranges is available as an option, as well as ISO-17025 calibration.
Conditioning, Acquisition, Use of the decoupling matrix
The K6D225 force/torque transducer generates 12 output signals accessible via 2 rugged UP13 type connectors for 6 channels each. The redundant architecture can be used either to improve the accuracy (<= 0.2%) or to robustify the installation by using two synchronized acquisition systems GSV-8DS.
For the 1st case, a 6 x 12 decoupling matrix supplied with the sensor is used in the GSVmulti acquisition software (supplied with the sensor) to compensate for transverse effects in an optimal way, and thus obtain maximum accuracy.
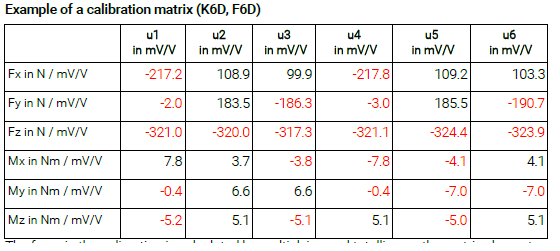
If the choice is made to use only 6 output signals from the K6D225, or to use a redundant measurement, the complete calculation of the forces, the real torques and the compensation of the transverse effects is done in the conditioner GSV-8DS before being transmitted as an analog or digital signal (serial link, CAN, EtherCAT, LAN, WifI or 3G). The origin of the reference frame in which the measured forces are projected is generally the center of the contact surface (see documentation).
Installation
The 6-component load cell K6D225 is easily installed on machine tools, arms, or test benches.
The introduction of the forces and the fixing to the bench are carried out by 12 taps M20 x 1.75 of 15mm of depth + 2 pins of contrage Ø10 mm F7 (Torques of tightening: see here). The application of the force is made on the portions of the surface raised by 1 mm. The inner part of the surface is used for centering.
The sensor is supplied with 5 VDC. The operating temperature range is -10 to 85°C. The output signal is not amplified. The sensor is delivered with either a connector or a 5m cable.
Dimensions: diameter 225 x height 140 mm.
Applications
The K6D225 6-component force transducer is ideal for robotics, production, material or medical applications such as:
- structural testing in aeronautics
- robotics
- Force or torque controlled operation
Options and accessories
- Calibration: Standard or [specific] (https://www.pm-instrumentation.com/storage/3892/Calibration-option-Matrix-Plus.pdf), ISO-17025
- Robotic mounting kit (ISO 9409 standard)
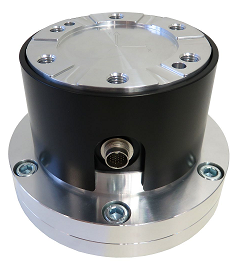
- Cable and connector for GSV
- Packaging and acquisition module GSV-8DS, GSV-8AS or GSV-6LTE
- Extended temperature compensation
- TEDS
- Type
- 6 axis sensor
- Moment capacity
- 10000 / 15000 / 20000 Nm
- Number of Axis
- 6 Axis
- Precision (max error)
- 0.5 %
- Nonlinearity (% FS)
- ± 0.2 %
- Hysteresis
- 0.02 % FS
- Operating temperature range
- -10 à 85 °C
- Zero Balance
- 0.02 %PE/°C
- Sensibilité du gain
- 0.02 %/°C
- Tension d'alimentation
- 10 Vcc
- Measurement direction
- Traction & Compress.
- Surcharge
- 200 %PE
- Housing
- Steel
- Protection Class
- IP65
- Measuring Range (Force)
- 100 - 250 kN, > 250 kN
- Application
- High Accuracy
- Calibration: Standard or [specific] (https://www.pm-instrumentation.com/storage/3892/Calibration-option-Matrix-Plus.pdf), ISO-17025
- Robotic mounting kit (ISO 9409 standard)

- Cable and connector for GSV
- Packaging and acquisition module GSV-8DS, GSV-8AS or GSV-6LTE
- Extended temperature compensation
- TEDS
- Calibration: Standard or [specific] (https://www.pm-instrumentation.com/storage/3892/Calibration-option-Matrix-Plus.pdf), ISO-17025
- Robotic mounting kit (ISO 9409 standard)

- Cable and connector for GSV
- Packaging and acquisition module GSV-8DS, GSV-8AS or GSV-6LTE
- Extended temperature compensation
- TEDS
Produits associés
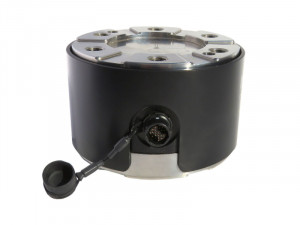
K6D80
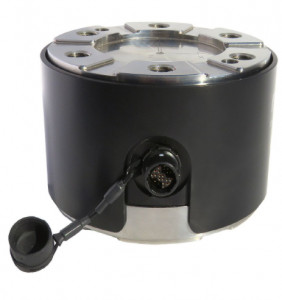
K6D150
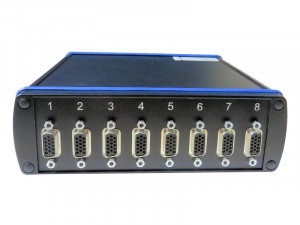
GSV-8DS
