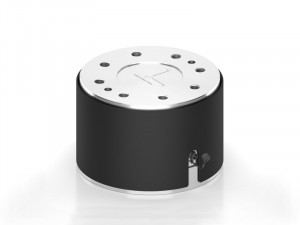
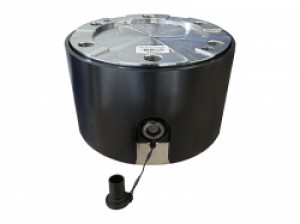
6-axis force transducer from ±10 kN /±1kNm to ±50 kN/±5kNm
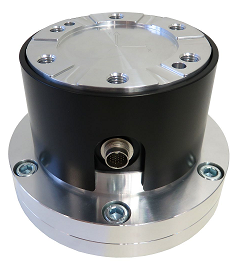
- 6-component force/torque transducer of the F6D/K6D series
- Measuring ranges: ±10kN/±1kNm, ±20 kN/±2kNm and ±50kN/±5kNm
- Calibration: tension/compression
- Accuracy class: ±0.5%
- Crosstalks : up to ±1/3/6%
- Output signal: not amplified
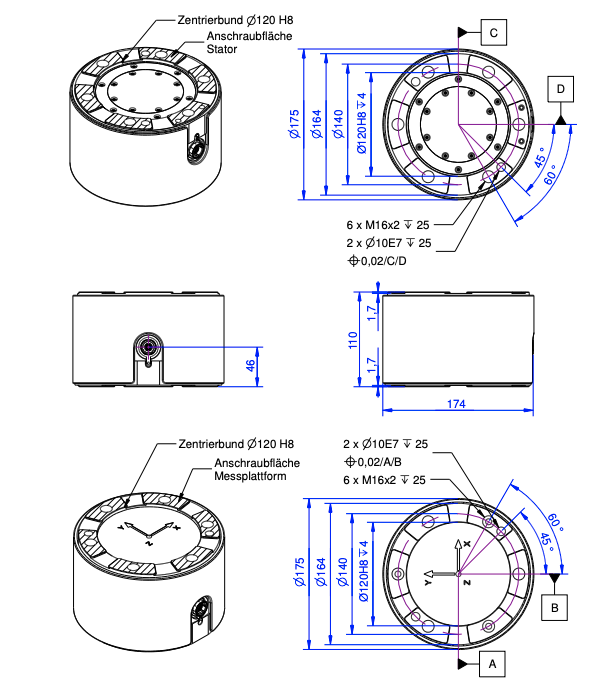
- Dimensions: Ø175 mm x 110 mm;
- Mounting and centering: 6 x M16x1.2 threads + 2 x Ø10 mm F7 holes
- Connection: Integrated circular connector (UP13), 24-pin, male
- IP65 stainless steel construction
- Weight: 11kg
- Calibration certificate and 6x6 channel matrix included
Introduction
The 6-component force transducer K6D175 simultaneously measures the forces Fx, Fy, Fz and torques Mx, My, Mz on three perpendicular axes. This "second generation" 6-component load cell integrates 6 independent strain gage full bridges. The forces are measured directly at the contact surface, allowing maximum rigidity and a reduced size. The contact surfaces are designed for optimized force transmission, reducing non-repeatability to about 0.1%, overall accuracy to 0.5% (on an individual axis), and crosstalk sensitivity to 1% (10kN version) up to 6 %(50kN version).
The K6D175 sensor is available in 3 measuring ranges :
| Model | K6D175 (10kN/1kNm) | K6D175 (20kN/2kNm) | K6D175 (50kN/5kNm) |
|---|---|---|---|
| Fx, Fy [kN] | ±10 | 20 | ± 50 |
| Fz [kN] | ±20 | 50 | ± 100 |
| Mx, My [Nm] | ±1000 | ±2000 | ± 5000 |
| Mz [Nm] | ±2000 | ±5000 | ±10000 |
| Connectivity | Connector : M16 | Connector : M16 | Connector : M16 |
| Material | High strength stainless steel 1.4542 | High strength stainless steel 1.4542 | High strength stainless steel 1.4542 |
Installation
The 6-component load cell K6D175 is easily installed on machine tools, arms, or test benches. The introduction of the forces and the fixing to the bench are carried out by 6 taps M16 x 1.75 of 15mm of depth + 2 pins of contrage Ø10 mm F7 (Torques of tightening: see here). The application of the force is made on the portions of the surface raised by 1 mm. The inner part of the surface is used for centering.
The sensor is supplied with 5 VDC. The operating temperature range is -10 to 85°C. The output signal is not amplified. The sensor is delivered with either a connector or a 5m cable.
Dimensions

Calibration
Different options are offered for the calibration, with 2, 4, 6 or 10 breaking points, enhancing hence the transducer performance on the nominal operating points or interfmediate points as well. A calibration report is always provided, as well as a 6x6 calibration matrix for the crosstalk compensation. For the advanced calibrations, a second calibration is provided to improve the performance at intermediate loads.
Data acquisition
The acquisition of the raw measurement signals is done with :
- a PC or PLC acquisition system equipped with a strain gage bridge input card
- or via a conditioning module for strain gage bridge with analog or digital output, then a PC or a standard acquisition system.
The inter-channel decoupling matrix is implemented in the conditioning or acquisition module.
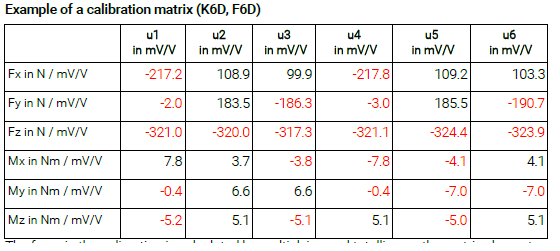
The real forces are obtained by multiplying the 6x6 decoupling matrix (M) by the vector I containing the 6 output signals of the K6D175. The origin of the reference frame in which the measured forces are projected is generally the center of the contact surface (see documentation). After neutralization of the inter-channel effects, a force applied on one axis will result in a force variation on only one axis. The accuracy of the measurement is thus improved by a factor of 5 to 10.
PM Instrumentation recommends the GSV series of digital interface conditioning modules for their simplicity of use, their accuracy and their ability to take into account decoupling matrixes:
- the GSV-8DS (High performance module, 8 analog inputs) or its ruggedized version GSV-8AS, which can be optionally equipped with a datalogger A visualization and acquisition software is included with these modules (GSV-multi). Dll and VI files are also provided for the development of an application under Labview or in C / Visual Studio / C++ / .net
Applications
The K6D175 6-component force sensor is ideal for robotics, production, material or medical applications such as:
- Collision detection
- Teach-in or presence detection
- Force or torque controlled operation
- Stress measurement in medical technology
- Orthopedic technology
- Gait analysis measurements in sports medicine * Comfort measurements
- ergonomic measurements
Options and accessories
- Calibration: Standard or [specific] (https://www.pm-instrumentation.com/storage/3892/Calibration-option-Matrix-Plus.pdf), ISO-17025
- Robotic mounting kit (ISO 9409 standard)
- Cable and connector for GSV
- Packaging and acquisition module GSV-8DS, GSV-8AS
- Extended temperature compensation
- TEDS
- Type
- 6 axis sensor
- Number of Axis
- 6 Axis
- Precision (max error)
- 0.5 %
- Tension d'alimentation
- 10 Vcc
- Measurement direction
- Traction, Compression, Traction & Compress.
- Housing
- Steel
- Protection Class
- IP40
- Measuring Range (Force)
- 100 - 250 kN
- Application
- High Accuracy

- Calibration
- Cable output
- Data acquisition module
- Datalogger
- mounting adapters (custom)
Produits associés
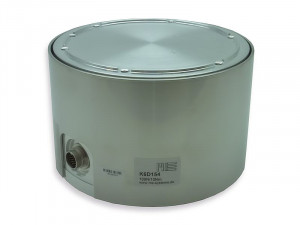
K6D154
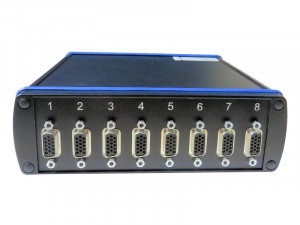
GSV-8DS
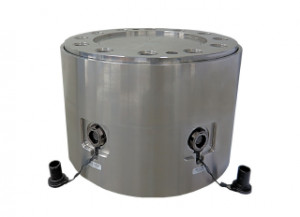
K6D225
