Principle of Eddy Current measurement
A coil, through which a high frequency current flows, generates a variable electromagnetic field in the space surrounding its ends. A metal object placed in this area is the seat of induced currents called eddy currents. These currents oppose the cause that gave rise to them. They therefore create an induction in the opposite direction to the induction of the coil, which leads to a reduction in the self-induction coefficient of the exciting coil.
The eddy current sensor consists of a coil that generates the magnetic field to allow detection of changes in the position of the sensor relative to the surface of the metal part.
This measurement target must be metallic and can be magnetic or non-magnetic (stainless steel, aluminium, copper, steel, inconel, titanium, copper ...). This technology is used to measure the displacement or vibration of a part in any type of fluid (water, oil, cryogenic fluid) at temperatures between -250°C and 580°C
Applications of Eddy Current Measurement
Eddy current position/displacement measurement is used in research, production and on-board applications in a wide range of industries including automotive, aerospace, manufacturing, rail, power and nuclear.
In research, this type of measurement is appreciated for its excellent accuracy, resolution and repeatability. In addition, certain probes are compatible with extreme conditions (cryogenics, very high temperatures, radioactive environments, etc.).
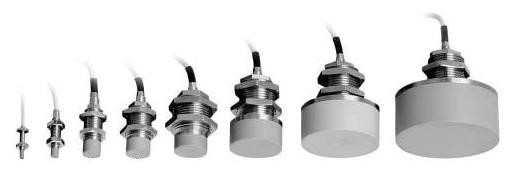
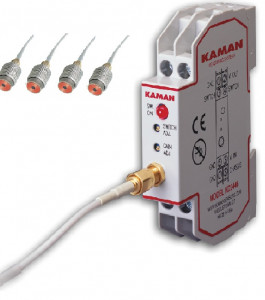
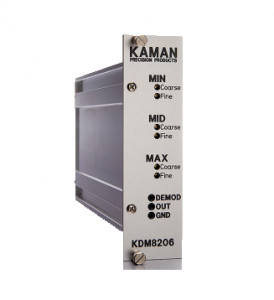
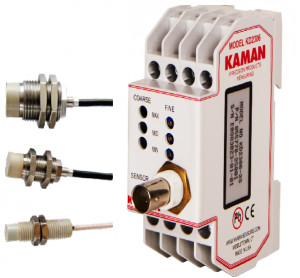
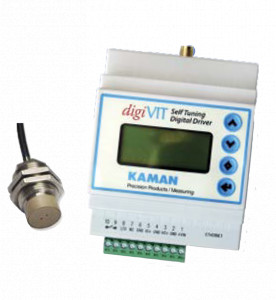
In production, this technology is the ideal answer to the objectives of automation and continuous quality improvement: the non-intrusive measurement can be easily integrated into the production line. The probes are very compact and can be easily mounted on a tool holder, without fear of the presence of fluids, etc... (IP67). The electronics are installed in the electrical cabinet: DIN-rail mounting, narrow housing, VDC operation, parameter setting via buttons on the front panel, connection: BNC or screw terminal block.
The sensors can also be used on board for control and/or continuous monitoring.
Some examples of applications
They are used, among other things, to measure the thickness or position of metal parts, vibrations, axis centring, out-of-roundness, bearing wear or even the displacement of vibrating parts, thus giving the amplitude and frequency of the latter.
| Application | Example |
|---|---|
| Robotic repeatability l valve position l artificial heart diaphragm position l servo positioning l disc drive head hover height l oil film thickness l robotic welding servo positioning feedback l pulp refiner control feedback l turbine blade tip clearance l fuel injector needle lift l valve flutter l engraving head l molten metal level l structural motion EndFragment | |
| Vibration | rotating shaft l ultrasonic welding shaft l uranium enrichment centrifuge l dental milling cutter l silicon wafer cutting blade l disc drive l transmission coupling l centrifugal pump l speaker cone l gas turbine shaft l structural l servo valve |
| Alignment | mirror stabilisation l fast orienting mirrors I tensile testing I rocket probe image tracker l bead tracking l magnetic bearing suspension l shaft alignment l mask alignment l workpiece positioning l sheet edge detection l die/piston alignment |
| thickness l DE l DI l concentricity l straightness l flatness I insulation thickness l printer cartridge foam thickness l copper clad PCB thickness l steel strip thickness. ndFragment | |
| sorting by multiple categories l calibration of metal parts l presence of caged ball bearing l position of ceramic capacitor l sorting of drill diameters l checking of multi-stranded wires |
Implementation of Eddy Current Measurement
- See all our products
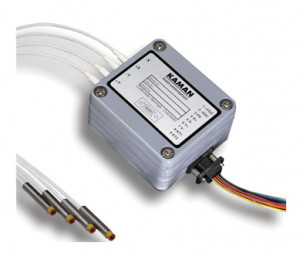
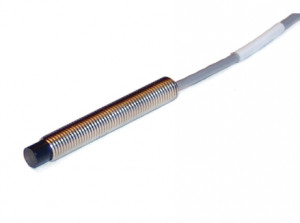
- Non-contact sensors for standard conditions See all products
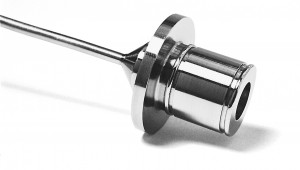
- Non-contact sensors for extreme conditions View products
- Eddy current sensors with digital output See products
- Differential displacement measurement systems View products.
